Wireless Setup Instructions for the Brother QL-820NWB for use with your Spoiler Alert Food Safety App and Wash Away Labels.
The Brother QL-820NWB is the easiest printer to setup to your WiFi network and use use with the Spoiler Alert Food Safety app. This setup requires no attachment to a P.C. or Mac you simply need to know the password of the WiFi network you wish to use to prepare your printer for use with the S.A.F.S wash away labels. If you need assistance loading your labels (click here).
Once the printer is unpacked and loaded with our labels do the following steps to setup the printer and attach to your WiFi network.
Note: The printer only works on 2.4GHz or lower. The primary device (running the app) that you are printing labels from (at any time) has to be on the same network as the printer but it can be either 2.4GHz or 5.0GHz. The printer will only find networks it can use.
STEP 1
Power up the printer and make sure the green light is lit.
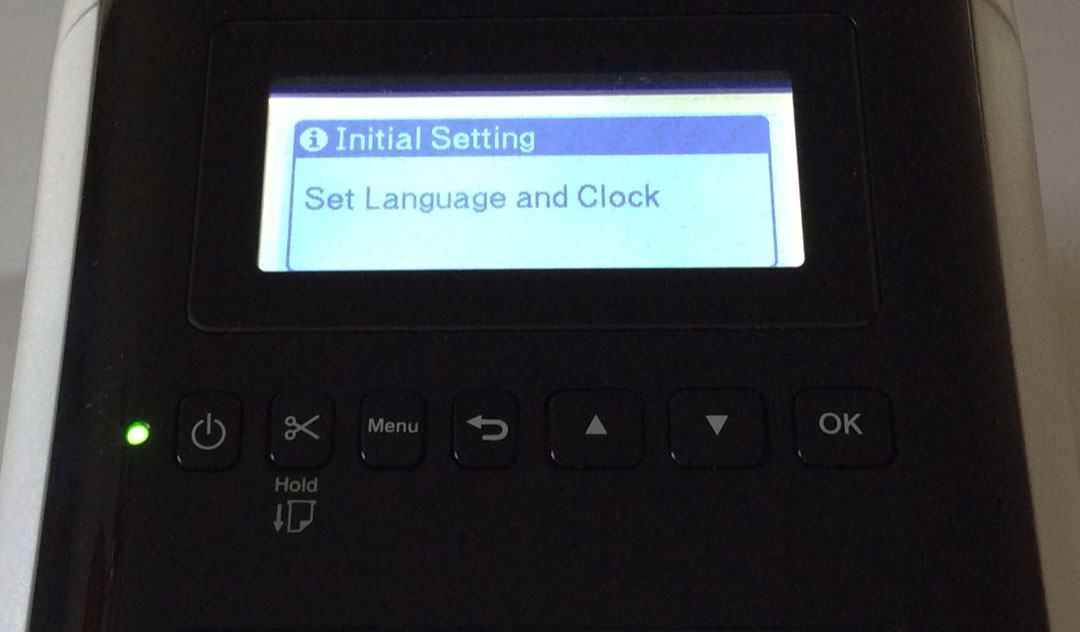
The screen will display (Initial Settings) - Set Language and Clock (press OK)
STEP 2
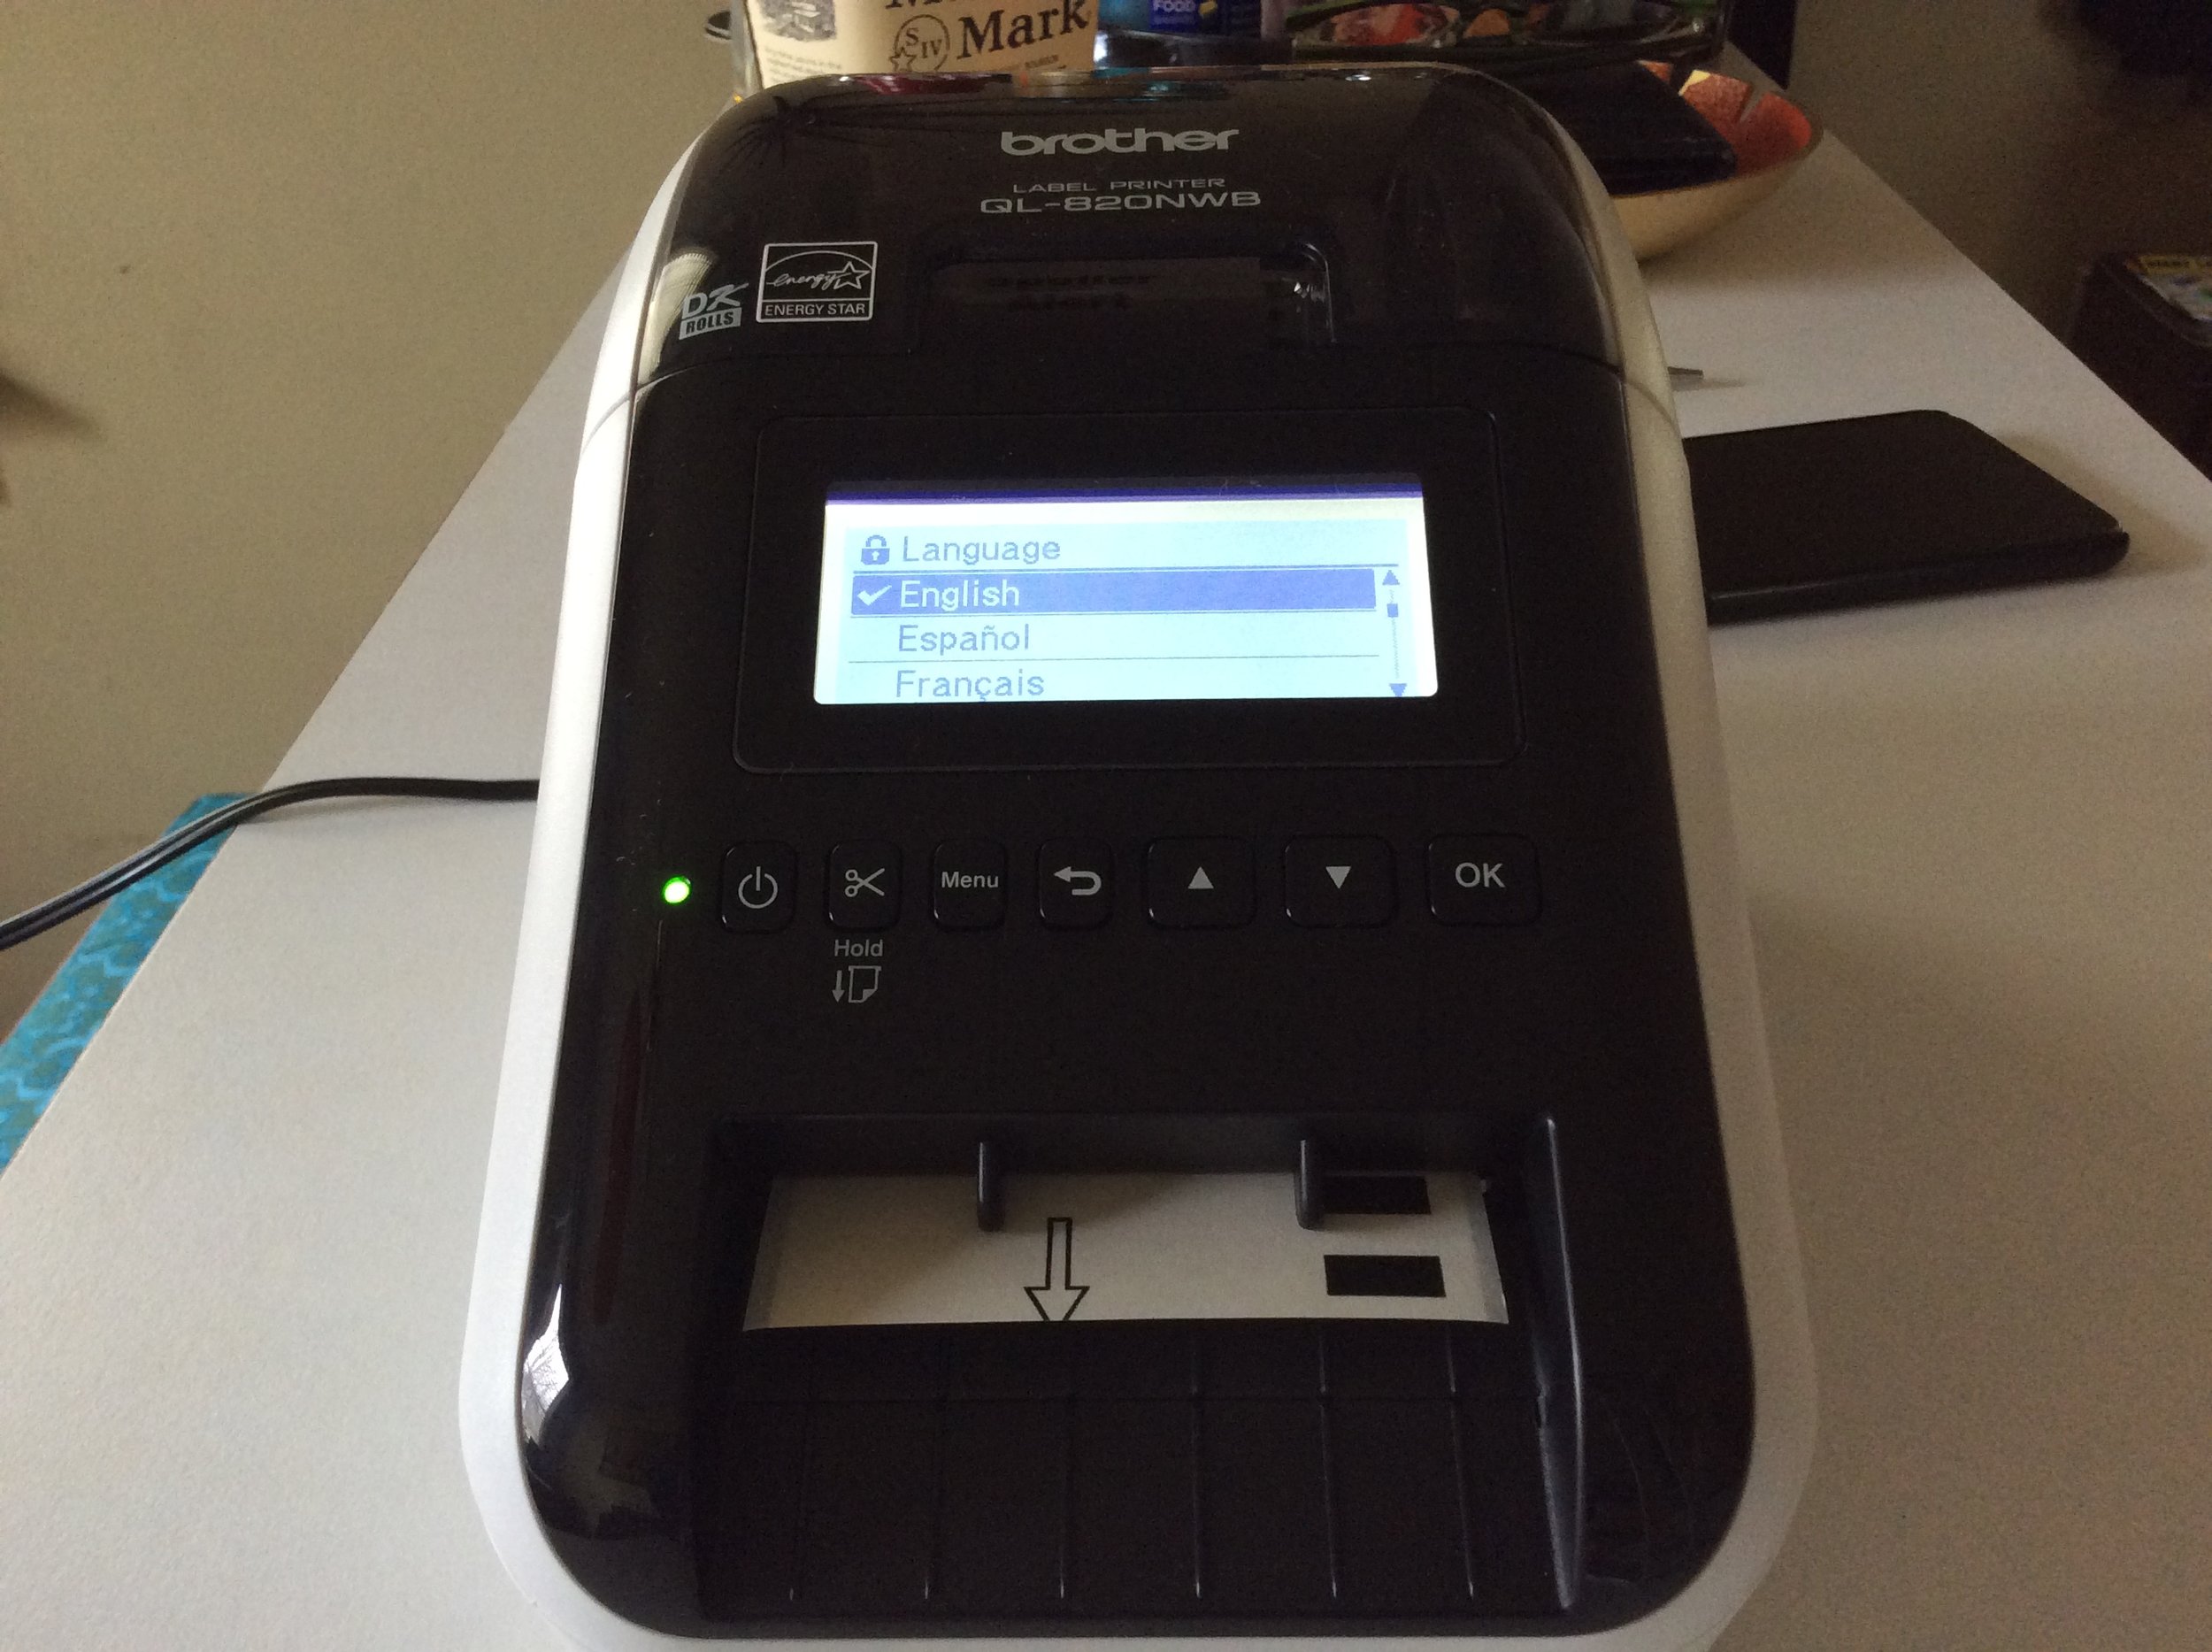
The screen will display (Language) Use the [▲], [▼] to highlight your selection (Press OK)
STEP 3
The screen will display (Set Clock) Use the [▲], [▼] to select Year (press OK) - use [▲], [▼] to select Month (press OK) use [▲], [▼] to select Day and (press OK). The time setup will then display automatically. Set your Hour/Minute/AM,PM or 24 the same way and (press OK).
You will be taken back to the Home Screen
STEP 4
Set the Backlight
Set the LED screen to stay lit for 60 seconds. This will come in handy while setting up the WiFi.
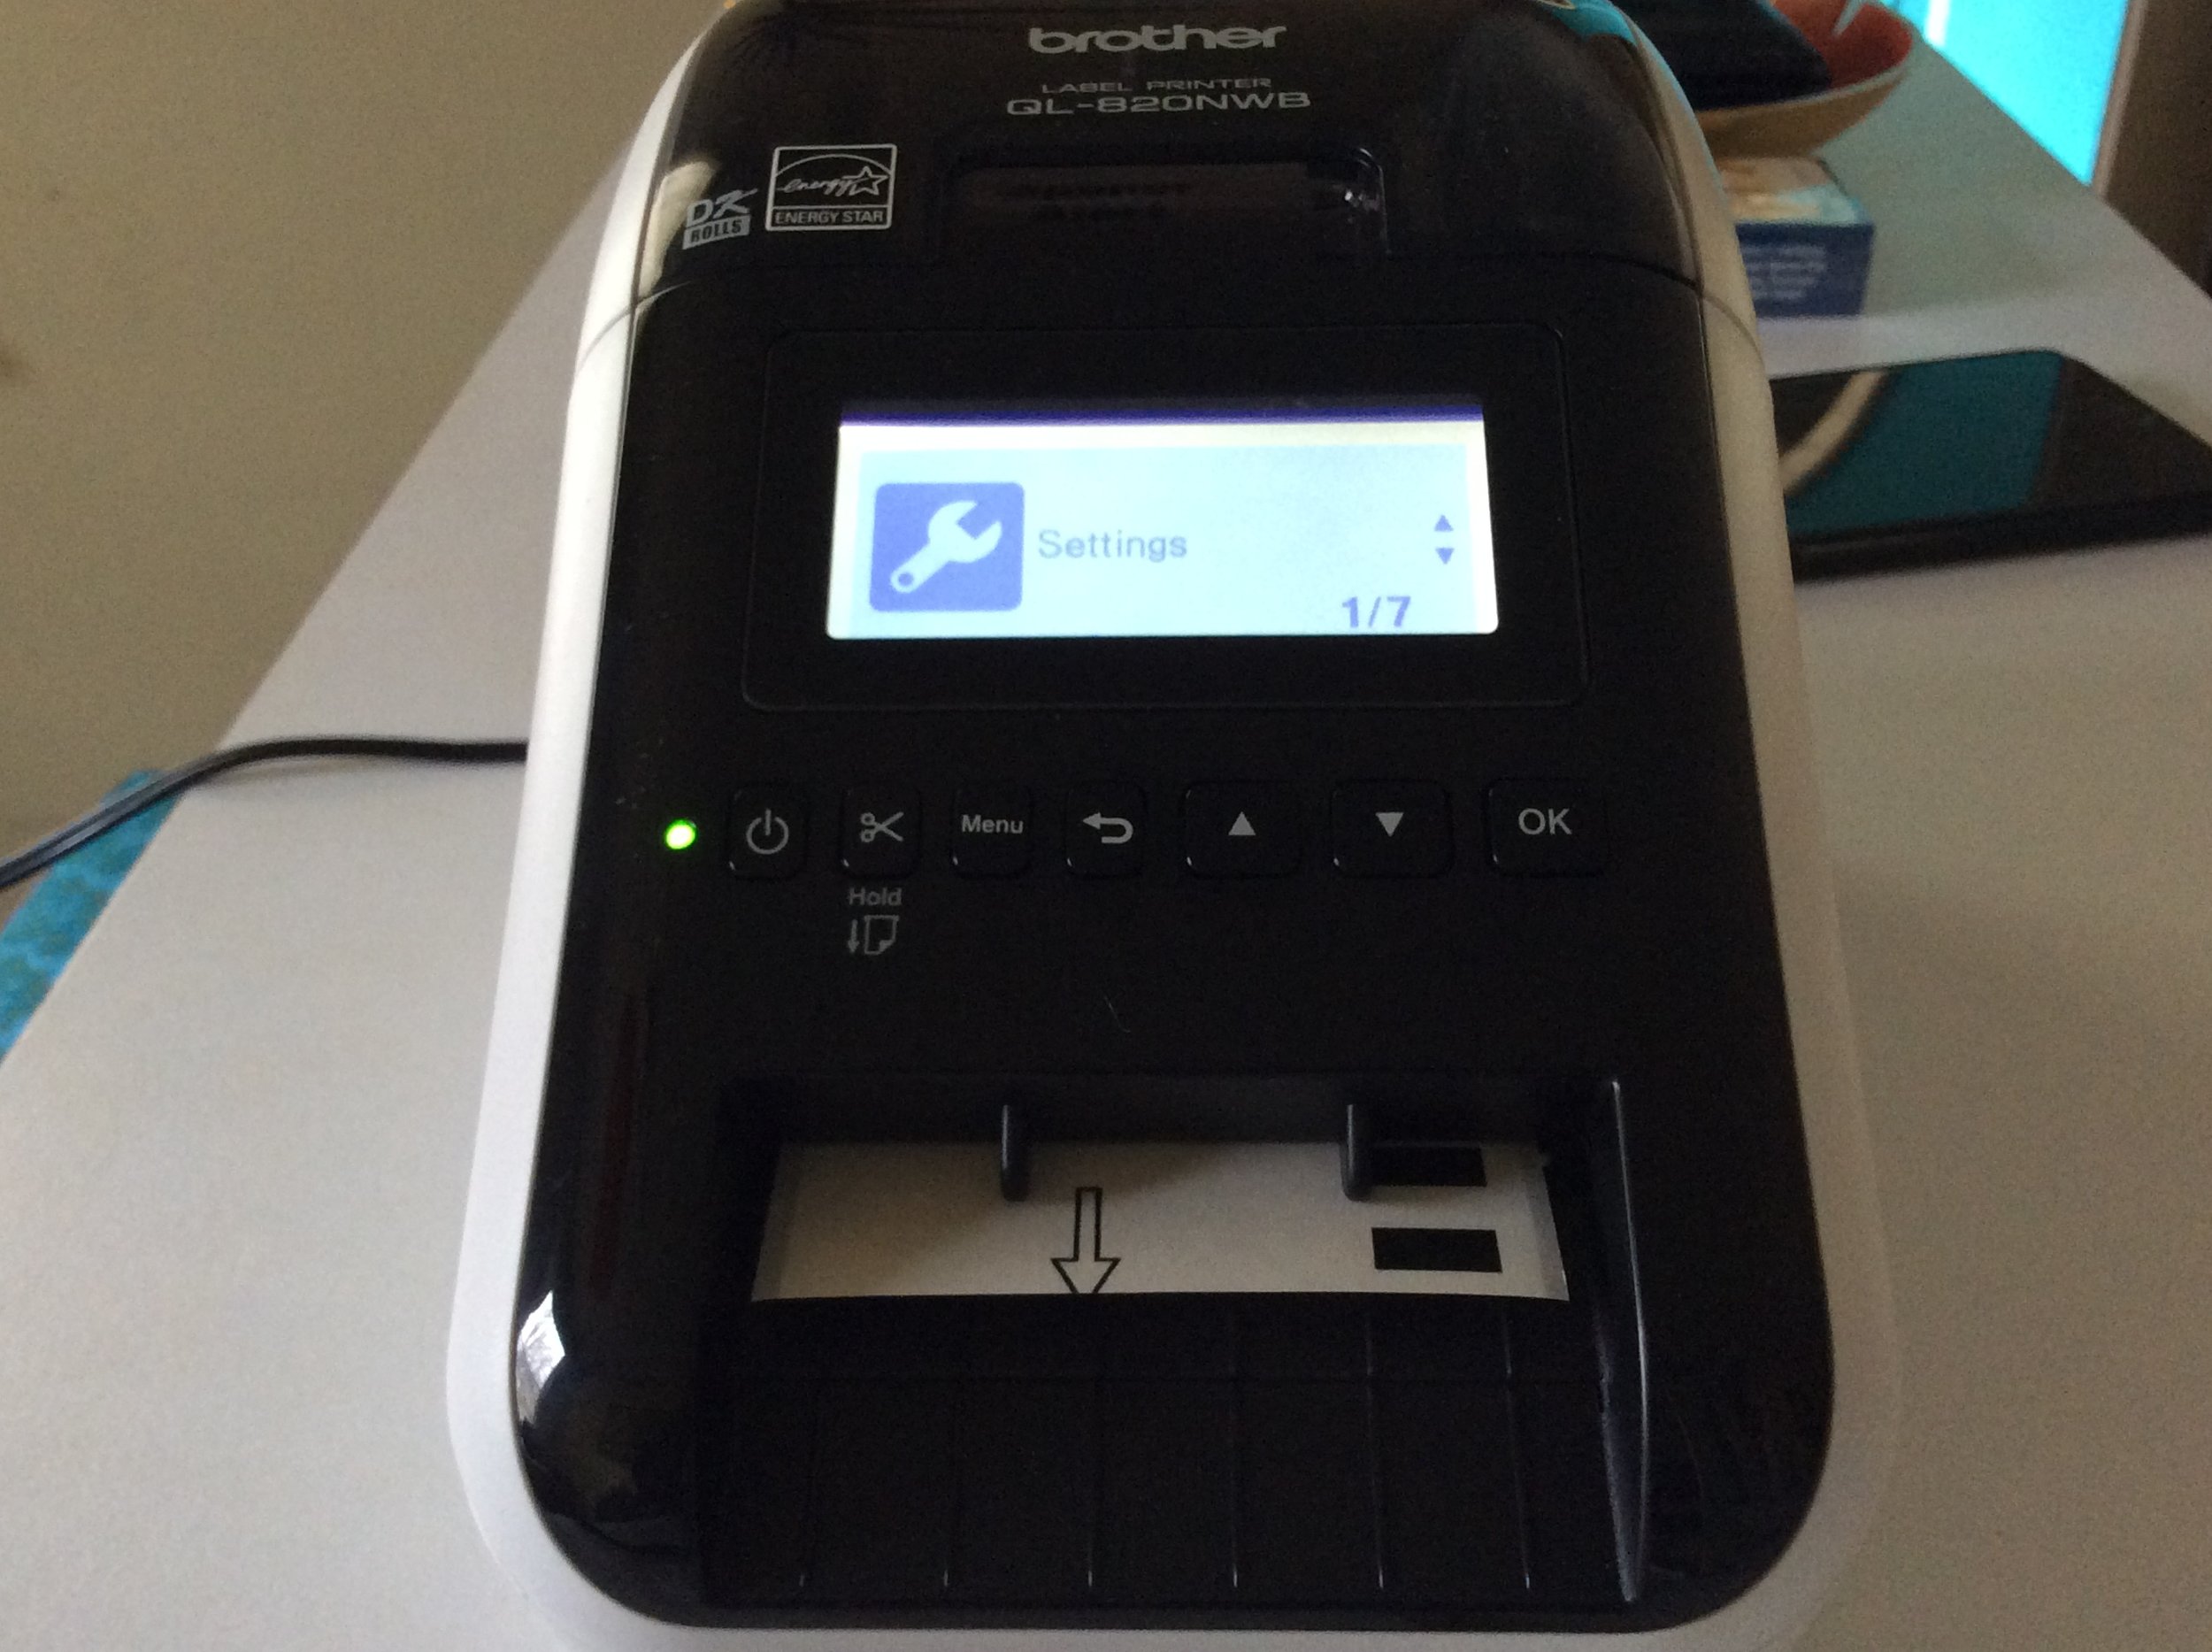
Press the Menu Button the screen will display (Settings) press OK use the [▲], [▼] to (Backlight) press OK select ON and (press OK). The screen will display (Backlight Timeout) Use [▲], [▼] to 60s and (press OK). You are done with this.
STEP 5
Set your Auto Power Off
Press Menu the screen will display (Settings) press OK. Use the [▲] and [▼] buttons to select Select ‘Auto Power Off’ Press OK select Adapter and press OK Use the [▲] and [▼] buttons to select Off. (Press OK). You are done with this.
STEP 6
Set your Template Mode
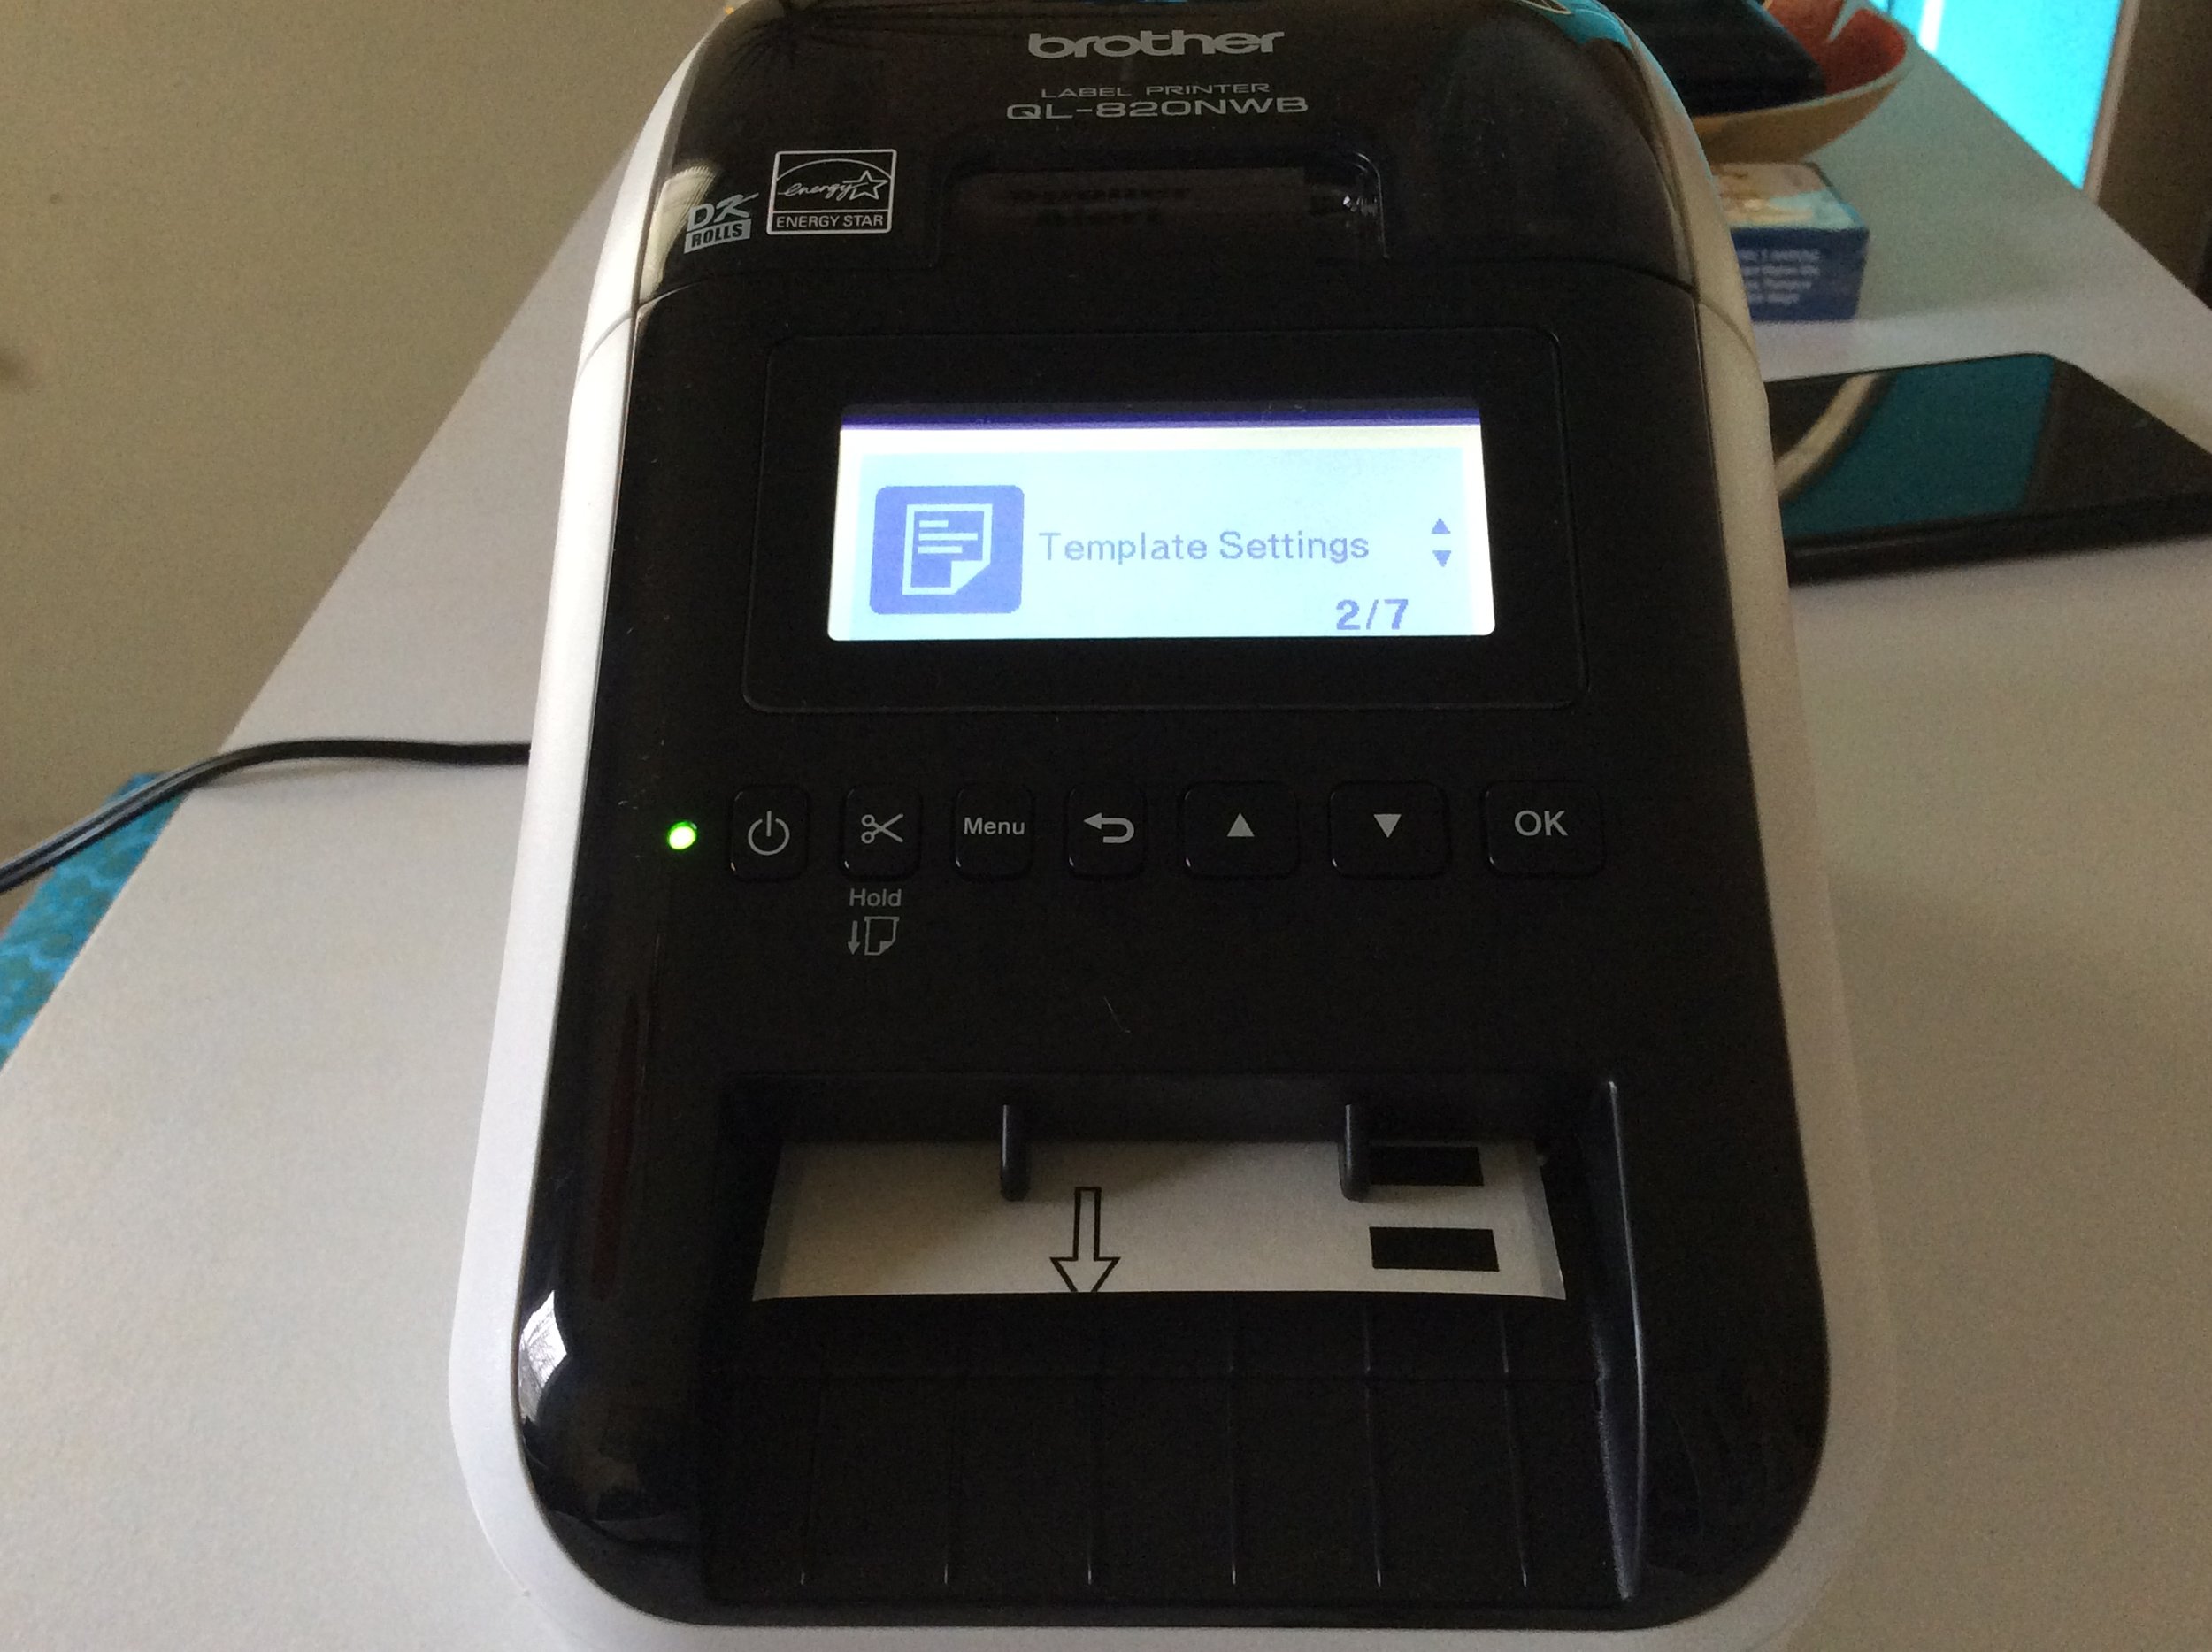
Press the Menu Button 2 times to (Template Settings) You will see (Template Mode) press OK. use the [▲], [▼] and select Off and Press OK. You are done with this.
STEP 7
Setup WiFi- Note: The Brother printer only supports connections to 2.4 GHz wireless band. If you are using a dual band router, your iPad(s)/iPhone(s) can remain connected to the 5 GHz band and your printer will connect to the 2.4 GHz band on the same network.
Press the Menu Button 5 times to the (WLAN) Screen 5/7. Press OK.
STEP 10
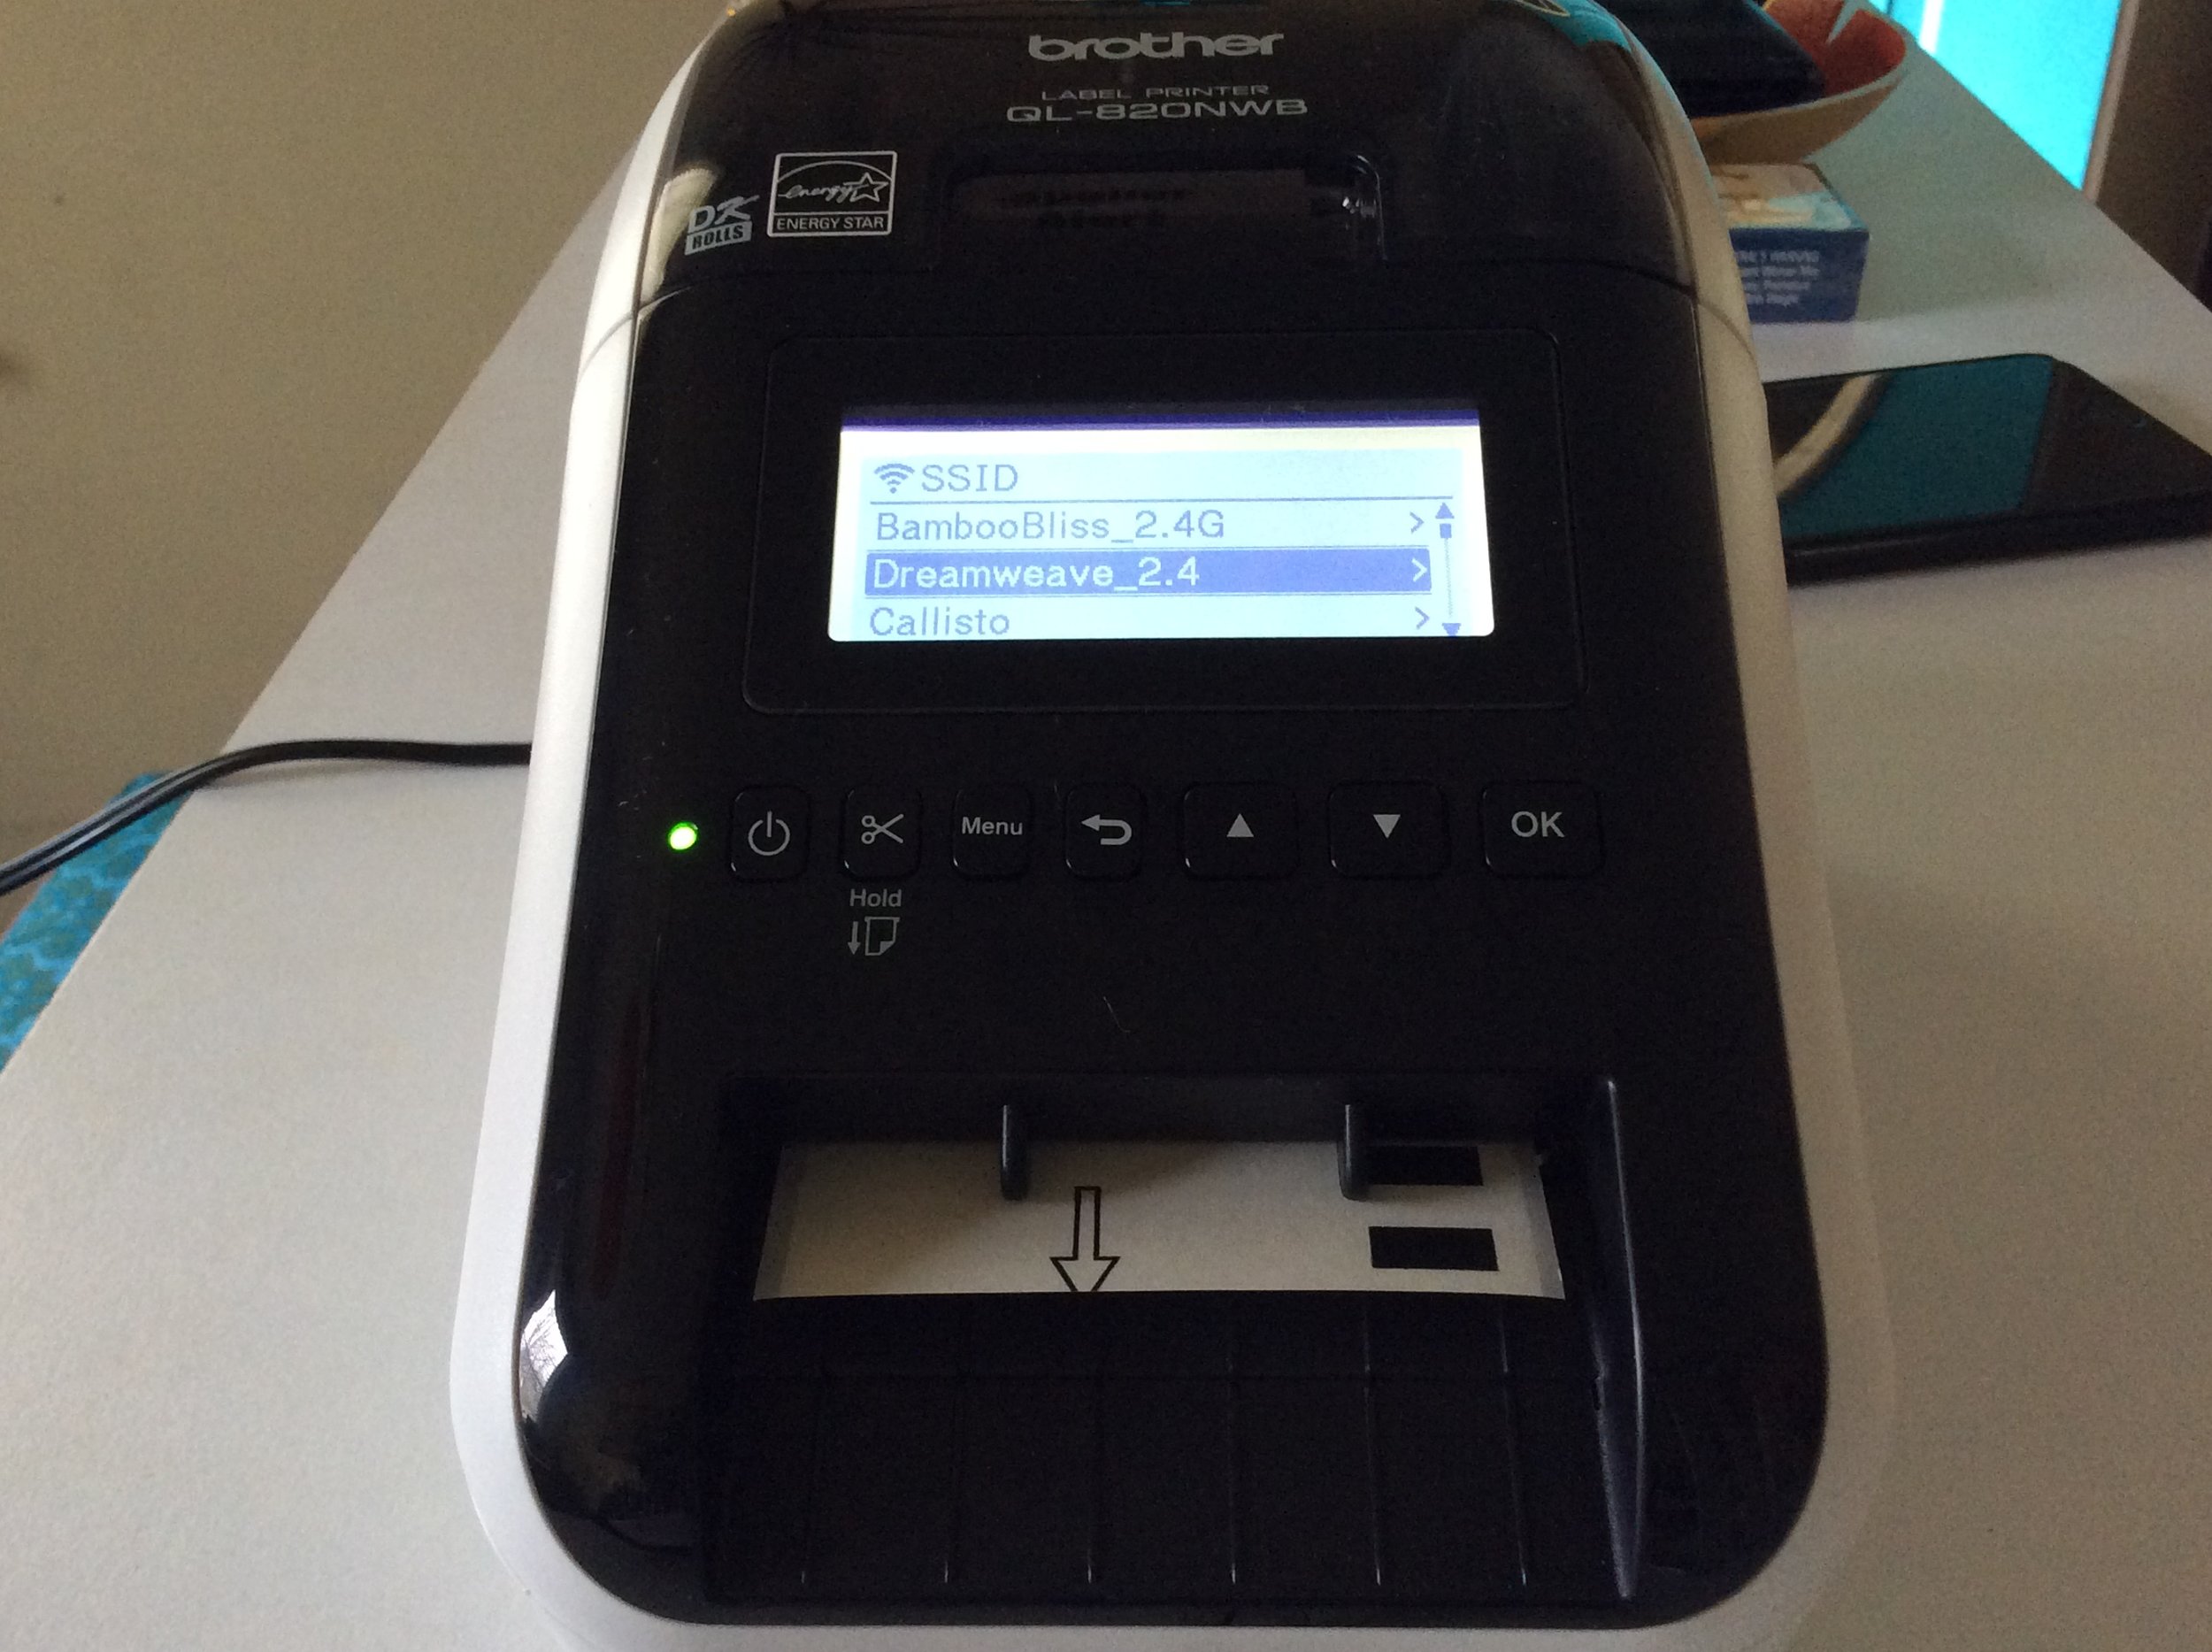
The screen will display the network name (SSID) Use the [▲] and [▼] buttons to select the network you wish to use and (Press OK). Type in your Password using the [▲] and [▼] buttons and Menu button - directions below:
The Menu Button toggles Upper and Lower Case/Numbers and Symbols. After each letter/number/symbol press OK to advance to the next character.
Then it will display your password and press OK again when it's correct.
More information for the Brother 820NWB printer
Full Drivers and Registration Click Here
Quick Guide and Manuals Click Here
If you need to know the IP address of your printer quickly Press the Menu Button 5 times to the (WLAN) Screen 5/7. Press OK Use the [▲] and [▼] buttons to select WLAN Status Press OK > Infrastructure Mode Press OK. Your screen will display all the network settings.
STEP 8
WLAN (On/Off) Press OK Select ON and Press OK (the screen will display Turning ON WiFi Radio). The screen will then display WiFi Press OK.
STEP 11
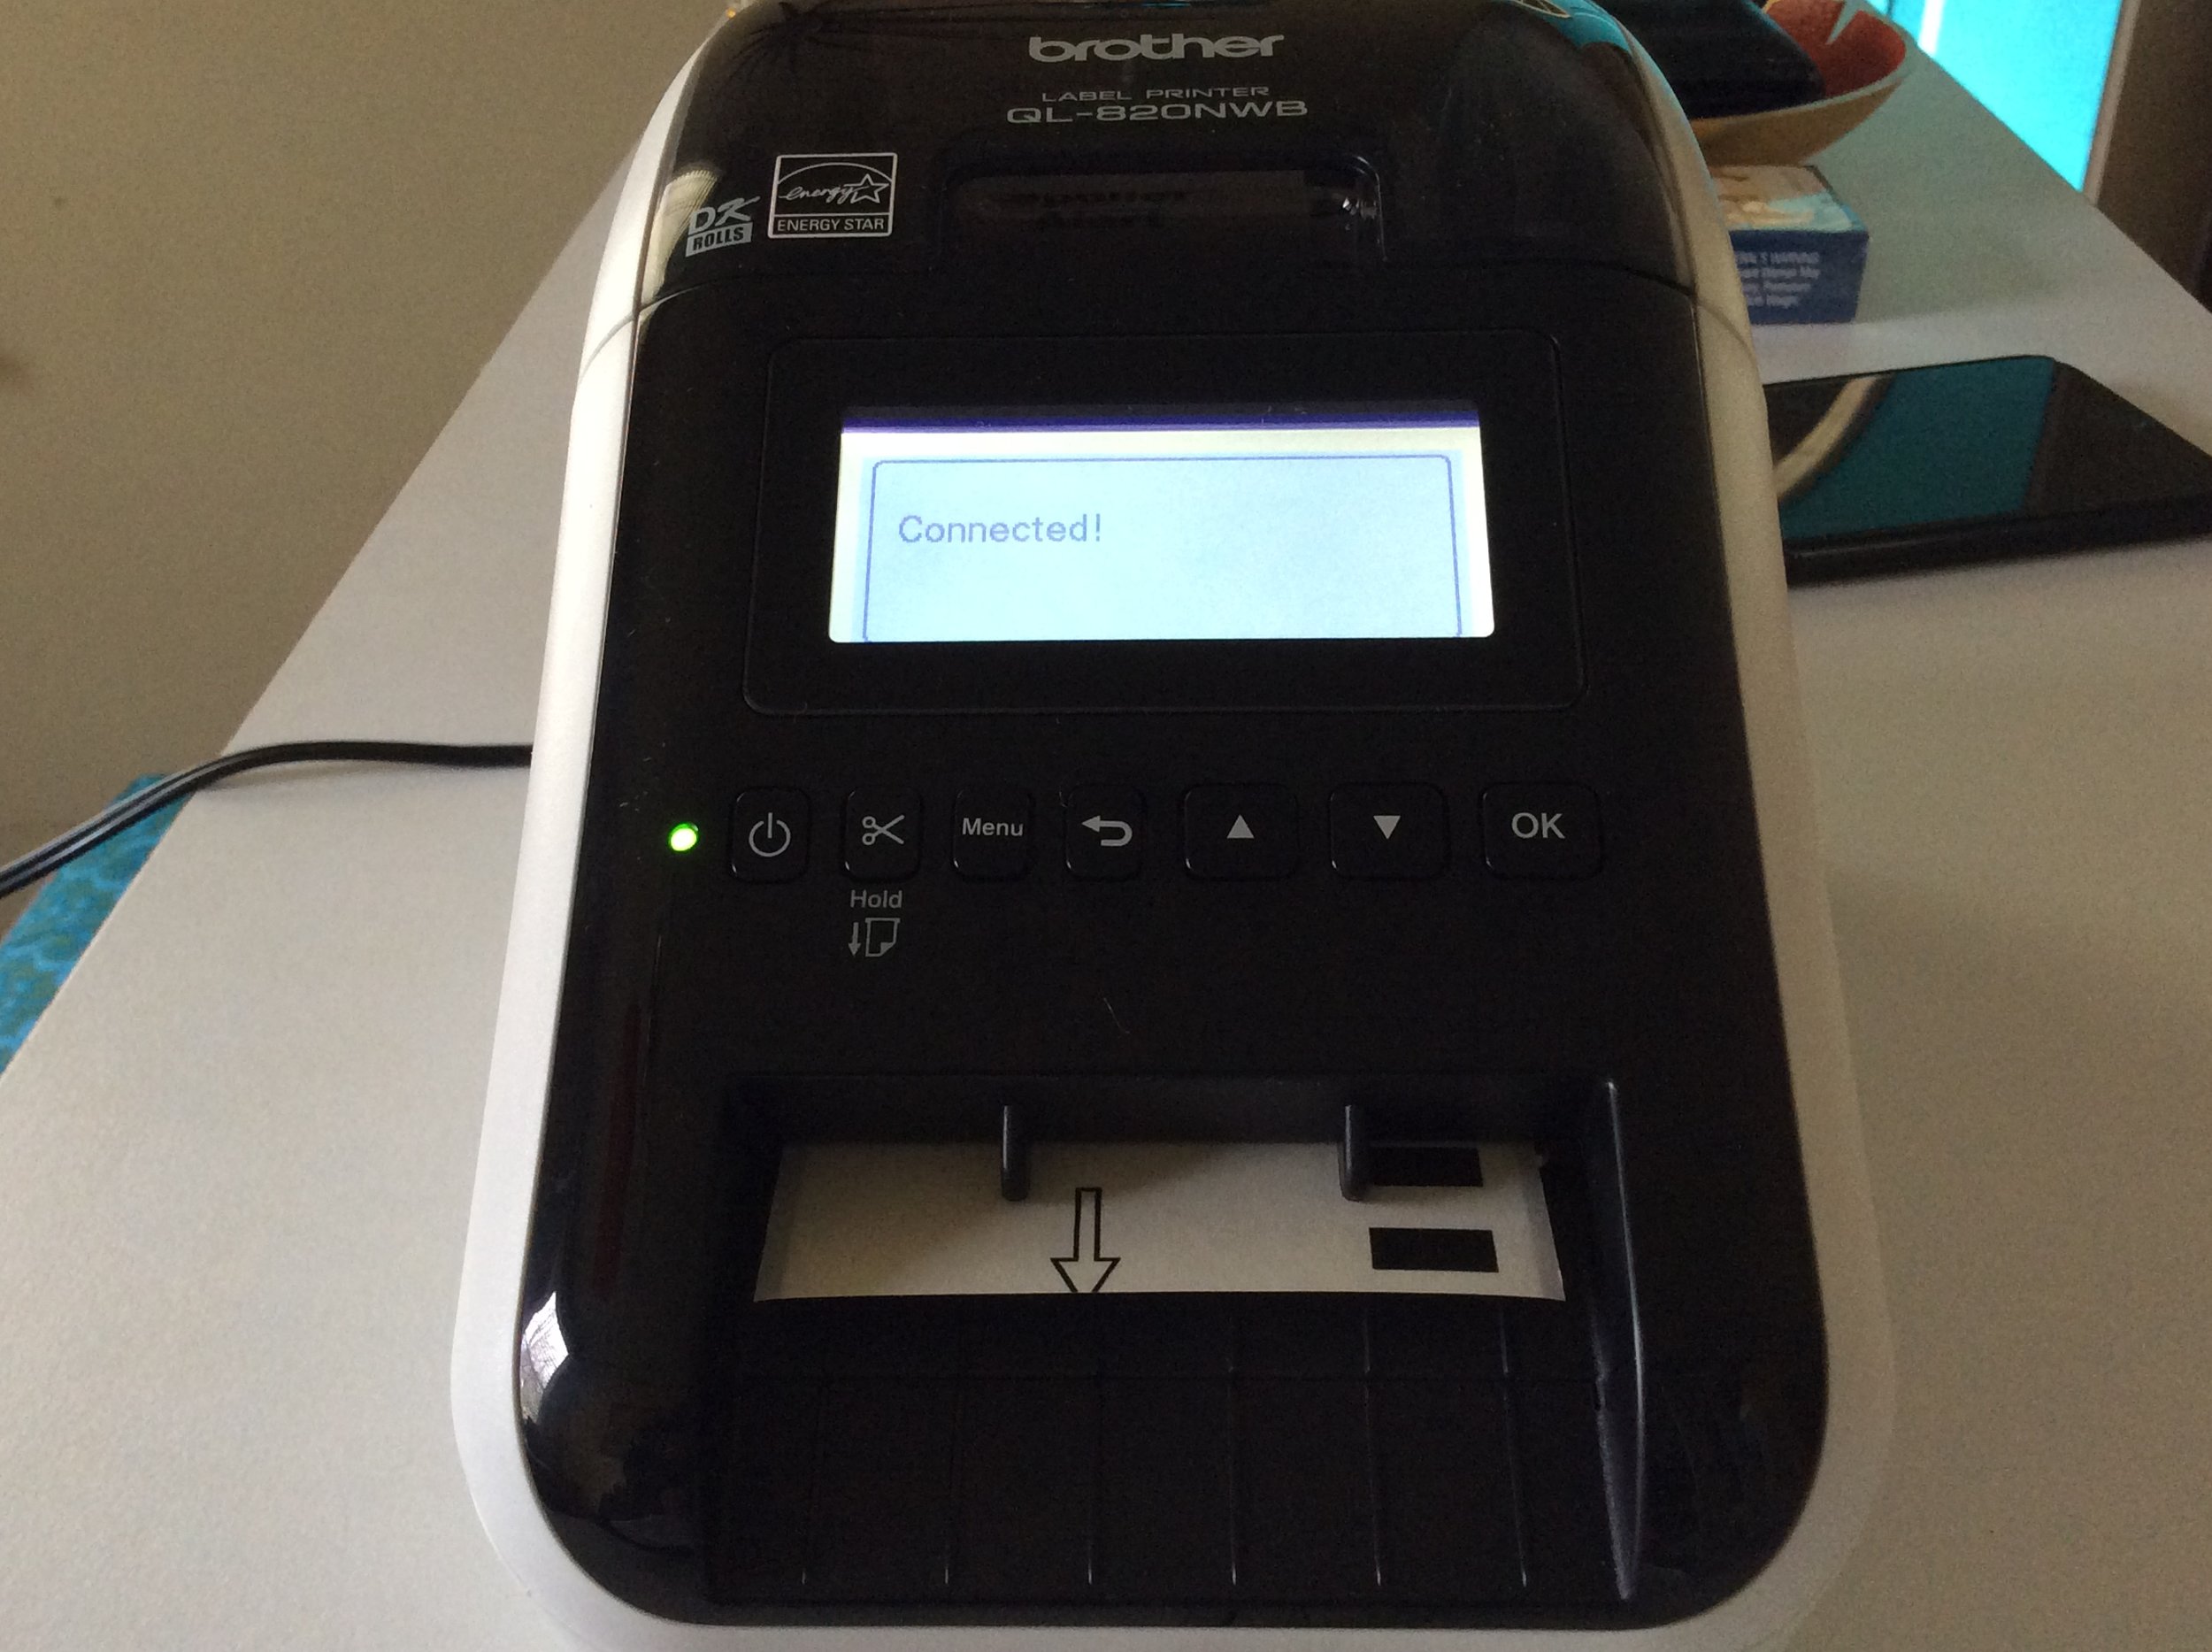
Your printer will search for available Wi-Fi networks. You see Connecting - Connected!
Remember, your printer and iPad and or iPhone will need to be on the same network in order to print S.A.F.S. labels.
You are now all done!
Control the printer settings from your computer
Once you know the IP address of your printer you can control all the settings from any computer on the same network. Simply type in the IP address of the printer in your browser’s address bar. You will open the built-in webpage of the printer and have control of every feature.
STEP 9
Press the Menu Button 5 times to the (WLAN) Screen 5/7. Press OK Use the [▲] and [▼] buttons to select WLAN > Infra Manual Setting Press OK. The screen will display “Searching”.
STEP 12
Remember, your printer and iPad or iPhone will need to be on the same network in order to print S.A.F.S. labels.
Install Brother P-Touch Editor for Mac/Windows
Use your Brother QL-820 to make labels from your computer or mobile device. Note-This will not work with Spoiler Alert Food Safety Wash Away Labels.
Click here for downloads and information.


